The shared whiteboard and online teaching tools
A real-time shared board, a shared document in the same room and the lesson video link.
Last updated: September 2026
- 1
What the board adds to a lesson
The board is a surface you share with the student: what you write appears for them immediately, and what they write appears for you. Content is saved to the room, so you can reopen it next lesson and continue. The bar above shows who is currently connected.
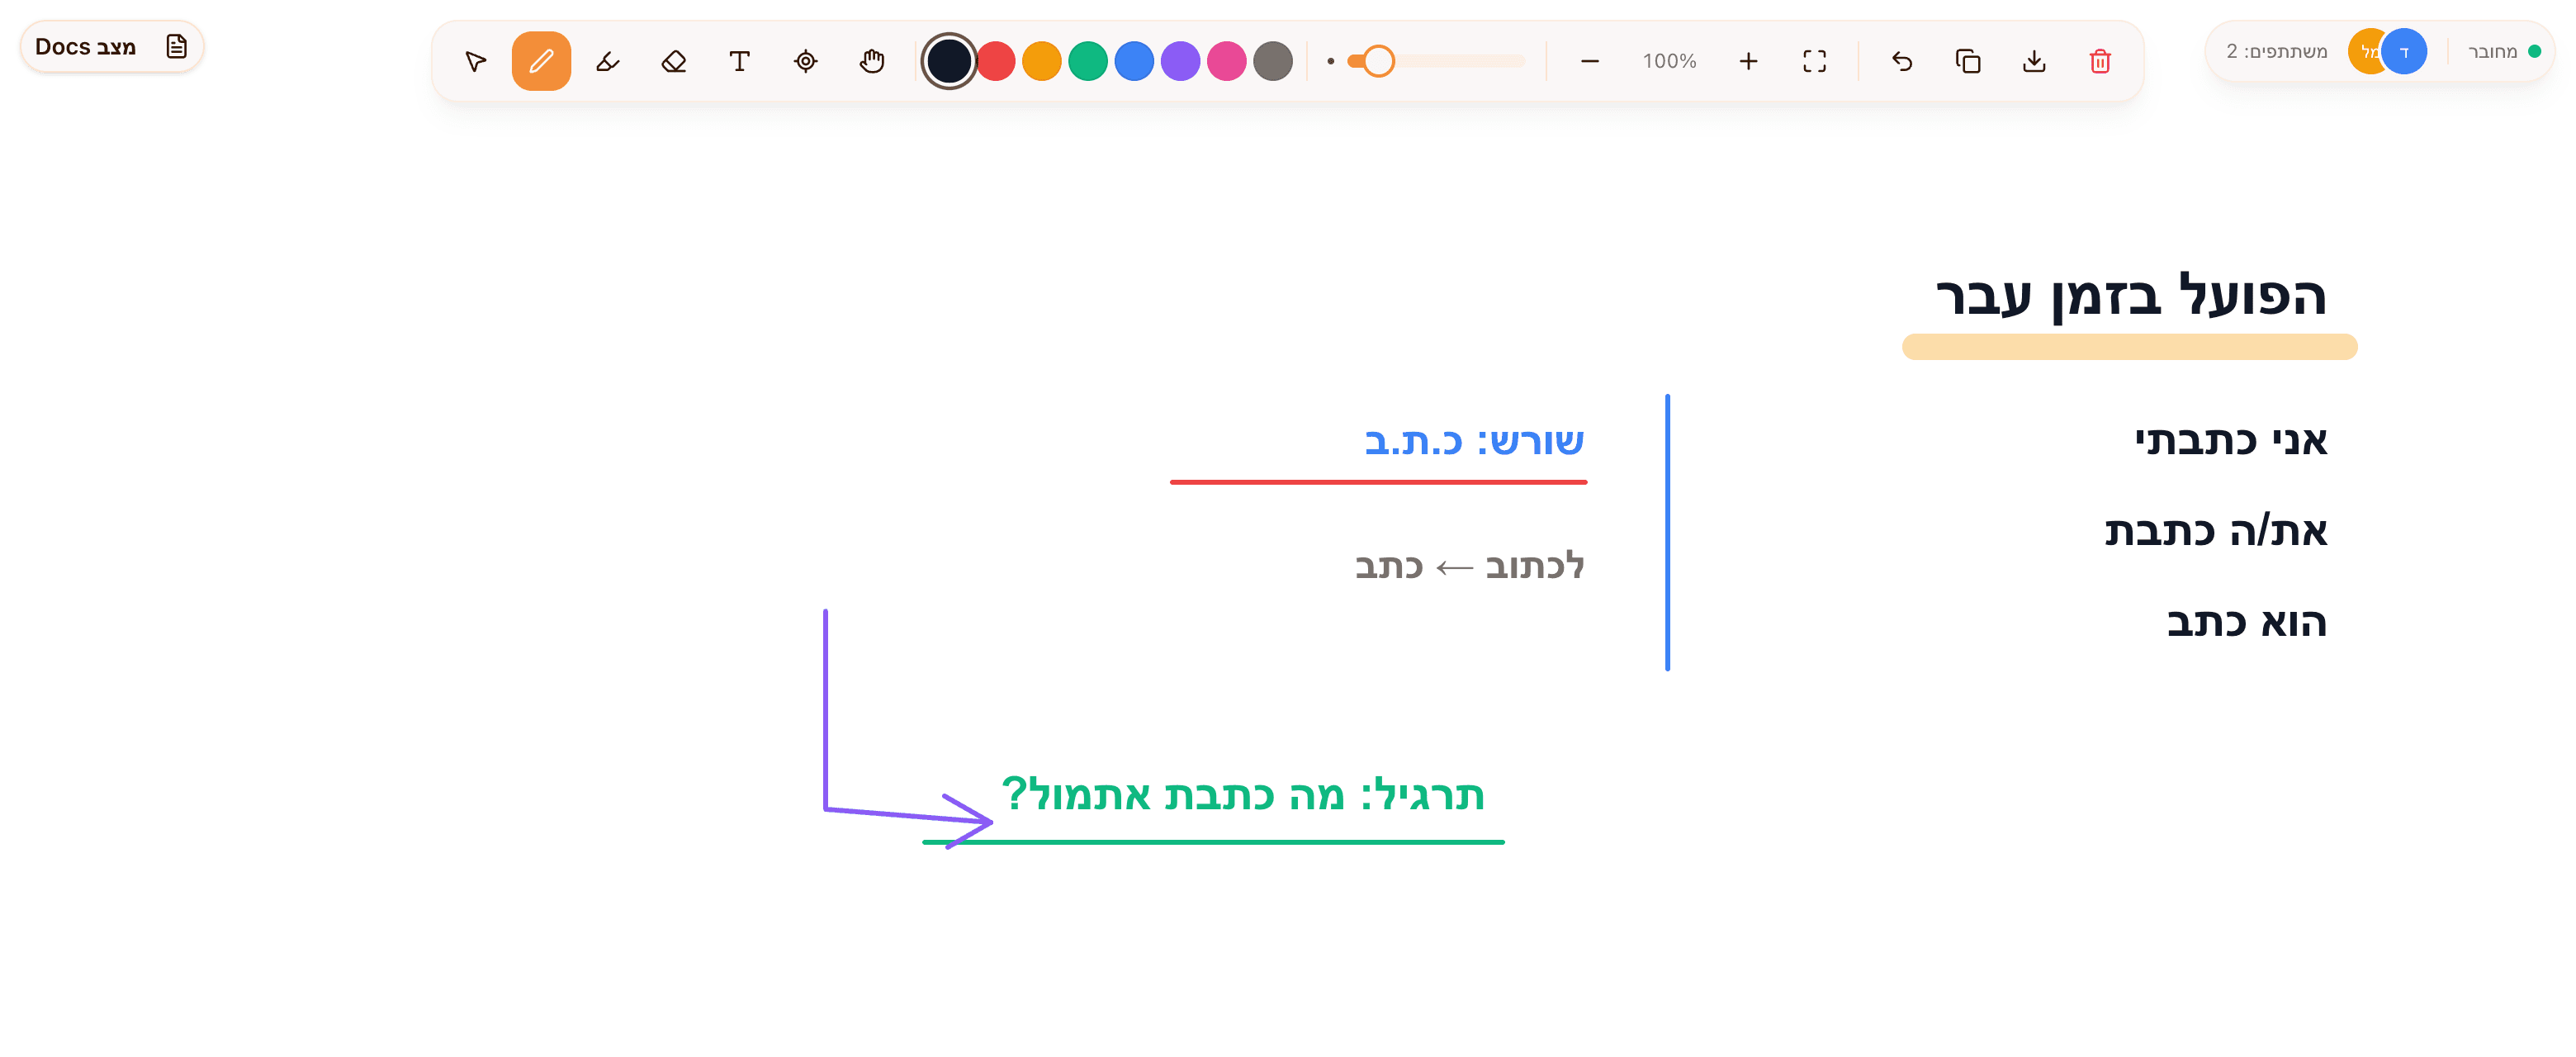
The board toolbar, with color, thickness, zoom, undo, share and export beside it. - 2
Opening a board for a lesson
How to do it
- 1Create a new room from the board page, or continue in an existing room when you pick up a topic.
- 2Copy the room link and send it to the student in Messages — only the link for the current lesson.
- 3In a Google Meet lesson, open the board inside the meeting: everyone lands on the same board with no link to share.
Hemy tip: Prepare the title, vocabulary or exercise on the board in advance — it saves precious minutes at the start.
- 3
Tools worth knowing
How to do it
- 1Pen and highlighter with color and thickness — one color for a rule and another for examples helps students follow.
- 2A text tool for clean typing, and a select tool to move or delete a whole element.
- 3A laser pointer to indicate something without leaving a mark.
- 4“Docs mode” swaps the board for a shared document in the same room — useful for summaries, lists and longer text.
- 5Export to PNG saves the board as an image you can send after the lesson.
Hemy tip: Clearing the board affects everyone and cannot be undone — export an image before you clear.
- 4
When syncing stops
A connection indicator sits above the board. If it shows “offline” or “disconnected”, check your internet and refresh the room — saved content comes back. If the student cannot see your writing, confirm you are both in the same room ID.